Laminate floor installation is a fantastic way to bring a fresh, modern touch to your home while maintaining affordability and durability. When done right, laminate floors can provide a seamless, high-end aesthetic that rivals hardwood. Achieving this flawless look requires a detailed approach to every step of the installation process. In this comprehensive guide, we will walk you through the essential steps and techniques for perfect laminate floor installation, ensuring that your new flooring looks professional and lasts for years.
Key Takeaways:
- Proper Preparation is Key: Ensuring the subfloor is clean, level, and dry, and acclimating laminate planks are essential for a seamless laminate floor installation.
- Correct Layout: Plan the layout and stagger seams to prevent repetitive patterns and achieve a natural, professional look.
- Use the Right Tools: Tapping blocks, a jigsaw, and a saw are necessary for precise cuts and secure plank connections during installation.
- Expansion Gaps: Always leave expansion gaps around the perimeter of the floor to allow for movement due to temperature and humidity changes.
- Post-Installation Care: After installation, allow the floor to settle for at least 24 hours and clean regularly to maintain its appearance and durability.
Preparing for Laminate Floor Installation
Proper preparation is the foundation of any successful laminate floor installation. To ensure that your floor is ready for installation, you need to take several important steps:
1. Clear the Space
Before beginning the installation, remove all furniture, rugs, and any other obstacles from the room. This will give you ample space to work and ensure a smooth installation process.
2. Check the Subfloor Condition
Laminate flooring requires a clean, dry, and level subfloor. Whether you are installing over concrete, wood, or another surface, it’s essential to inspect the subfloor for imperfections. If necessary, level out any bumps or depressions and ensure it is free of debris and moisture.
3. Acclimate the Laminate Planks
Laminate planks need to acclimate to the room’s temperature and humidity before installation. Place the unopened boxes of laminate flooring in the room for 48-72 hours prior to installation. This prevents expansion or contraction after the floor is laid.
Choosing the Right Laminate Flooring
Selecting the right laminate flooring is critical to achieving a seamless look. There are several factors to consider when choosing the ideal laminate for your space.
1. Thickness and Wear Layer
Opt for laminate planks with a wear layer of at least 12 mils for high-traffic areas. Thicker planks (around 8mm-12mm) will provide a more durable, solid feel and are more resistant to warping and damage.
2. Style and Design
Laminate flooring comes in a wide range of colors and designs, from traditional wood looks to contemporary stone or tile styles. Choose a finish that complements your interior design and creates the atmosphere you want.
3. Click-Lock vs. Glue-Down
Click-lock laminate flooring is the most popular choice for DIYers due to its ease of installation. If you opt for glue-down laminate, ensure the adhesive is applied evenly and correctly to avoid gaps or bumps in the surface.
Step-by-Step Guide to Laminate Floor Installation
Now that you’ve prepared your space and selected the right laminate, it’s time to begin the installation process. Follow these steps carefully for a flawless finish.
1. Lay the Underlayment
Before placing the laminate planks, you need to install an underlayment. This serves several purposes, including noise reduction, moisture control, and providing an even surface for the laminate to adhere to. Roll out the underlayment across the entire floor, making sure the seams overlap slightly. Tape the seams to prevent movement during installation.
2. Plan Your Layout
Planning the layout of the planks is crucial for achieving a seamless look. Start by finding the center of the room and laying a few rows of laminate along the longest wall. Use spacers along the edges to maintain a gap for expansion. This will ensure that your rows remain straight and parallel as you work your way through the room.
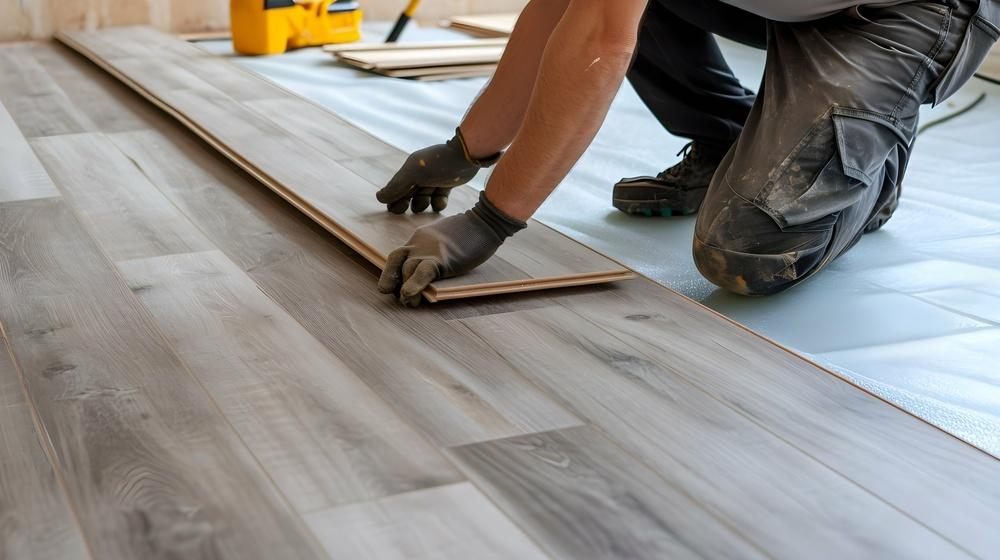
3. Install the First Row
The first row is essential in ensuring that the entire floor is aligned properly. Begin by placing the first plank in the corner of the room with the tongue side facing the wall. Use spacers to maintain the required expansion gap along the edges. Continue laying the planks side by side, clicking them into place. Be sure that each plank clicks securely into the one before it.
4. Cut Planks as Needed
When you reach the end of the row, you may need to cut the last plank to fit. Measure the space accurately and use a saw to cut the plank to size. If you need to make intricate cuts, such as around door frames, use a jigsaw for precision.
5. Install Additional Rows
Once the first row is complete, continue with the subsequent rows. Stagger the seams of each row to create a more natural, seamless look. Avoid lining up the seams of adjacent rows, as this can result in a repetitive, unnatural pattern.
6. Finish the Installation
As you reach the final row, it may be necessary to trim the planks again to ensure a perfect fit. Use spacers along the edges to maintain the necessary expansion gap. Once the floor is completely laid, install baseboards or quarter-round molding to cover the expansion gap and give the room a polished look.
Tips for a Seamless Laminate Floor Installation
Achieving a flawless laminate floor installation requires attention to detail and patience. Here are some additional tips to help you get the most seamless finish possible:
- Use a tapping block: When connecting planks, gently tap them with a tapping block and hammer to ensure a tight fit without damaging the edges.
- Keep the room temperature consistent: Ensure the room’s temperature stays within the recommended range for laminate installation, usually between 60°F and 80°F, to prevent warping.
- Allow the floor to expand: After installation, avoid heavy traffic for at least 24 hours to let the laminate adjust to its final position.
- Clean regularly: To keep the floor looking seamless, maintain it with regular cleaning. Use a dry mop or soft cloth to avoid scratching the surface.
Troubleshooting Common Issues
Even with the best preparation, problems may arise during installation. Here are some common issues and how to resolve them:
1. Gaps Between Planks
If you notice gaps between your laminate planks, it may be due to improper alignment during installation or an expansion gap that’s too small. Use a tapping block to re-align the planks, ensuring that each one clicks securely into place.
2. Creaking or Noisy Floors
A creaky laminate floor could be caused by uneven subfloors or gaps between the underlayment and the planks. Ensure that the underlayment is smooth and secure before installation. If noise persists, check for loose planks and ensure they are properly locked together.
3. Warping or Buckling
Warping or buckling typically happens if the laminate has been exposed to excess moisture or if there was insufficient acclimation time before installation. To prevent this, make sure the laminate is allowed to acclimate properly and that the subfloor is dry.
Laminate floor installation is a great way to achieve a sleek, seamless look in your home at an affordable price. By following the proper preparation and installation steps, you can create a beautiful and durable floor that enhances the aesthetics of your space. With attention to detail and the right techniques, your laminate floor will not only look great but also stand the test of time.
How long should I wait before walking on laminate flooring after installation?
It’s recommended to wait at least 24 hours before walking on your newly installed laminate floor. This allows the planks to settle and adjust to the room’s temperature, preventing any damage or shifting.
Can laminate flooring be installed over existing flooring?
Yes, laminate flooring can often be installed over existing floors, as long as the surface is smooth, clean, and level. Avoid installing over carpet or uneven floors, as it may affect the laminate’s fit and longevity.
How long should I wait before walking on laminate flooring after installation?
If your laminate floor begins to warp, it may be due to excess moisture or improper acclimation. To prevent warping, ensure the room’s humidity is controlled, and the planks were properly acclimated before installation.